


Short answer: In Last Asylum: Plague, max your main damage dealer first (Marlena for Warriors), keep tanks one step behind, and leave support last — never level every hero evenly.
New players in Last Asylum: Plague usually make the same mistake: they level every hero in the squad evenly, then wonder why fights drag on and progression feels stuck. Resources are limited early. If you invest them in the wrong order, your damage dealers never finish fights, your tanks die for nothing, and your support buffs land on underleveled carries.
This guide lays out a clear priority system for leveling, gearing, and skill upgrades — using the Warrior squad as the working example — so you can progress faster without guessing. New to the game? Pair this with the first 24 hours guide and fastest way to increase power.
Know the Three Hero Roles First
Every faction squad is built from three roles. You can identify each one from the icon above the hero:
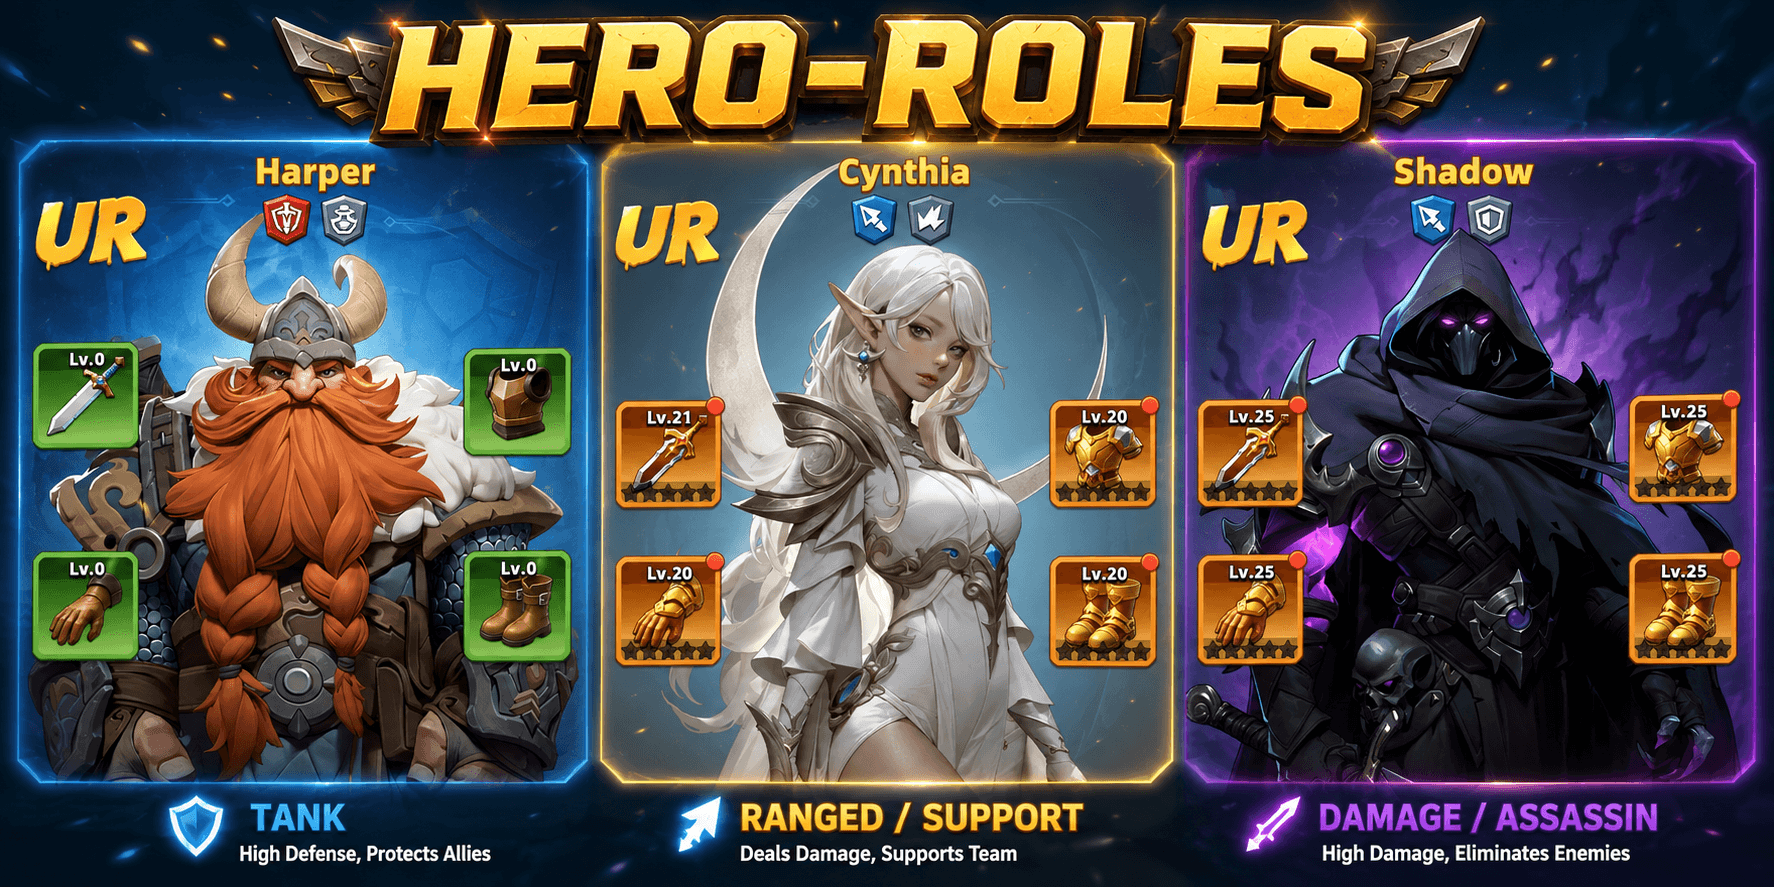 Last Asylum hero roles — Tank (Harper), Ranged/Support (Cynthia), and Damage/Assassin (Shadow)
| Icon | Role | Job in combat |
|---|---|---|
| Shield | Tank | Absorbs damage and buys time |
| Fire | Damage dealer / carry | Finishes the enemy team |
| Bottle | Support | Buffs allies or fuels resources / utility |
A full team is five heroes: two tanks, two damage dealers, and one support. That mix covers survivability, damage, and team bonuses in one formation. If you only level tanks, fights never end. If you only level supports, nobody is left standing to use the buffs. The carry has to come first.
The Leveling Priority That Actually Works
Use this order for every faction, not just Warriors:
- Damage dealers
- Tanks
- Support
There is a softer variant of the same rule that many players settle into once they have a bit more XP:
- Keep both damage dealers and tanks at roughly the same level
- Leave support a step behind until your front line and carries are solid
Either way, the principle is the same: finish fights first, survive long enough to finish them second, amplify third.
Why the carry comes first
The damage dealer is the hero who actually ends the fight. Extra levels, gear, and skill investment on that unit translate directly into faster clears. Faster clears mean less wasted stamina, fewer stuck campaign stages, and less frustration in early PvE.
You still upgrade tanks and support — just not equally, and not before the carry has a clear lead.
Damage Dealers — Max Them First
Using the Warrior squad as the example, Marlena is the primary carry to push.
Levels
Dump hero XP into Marlena (and your second damage dealer once the roster expands) ahead of everyone else. When you have two carries in the five-hero lineup, work on both, but keep a clear primary. For Warriors, that primary is Marlena.
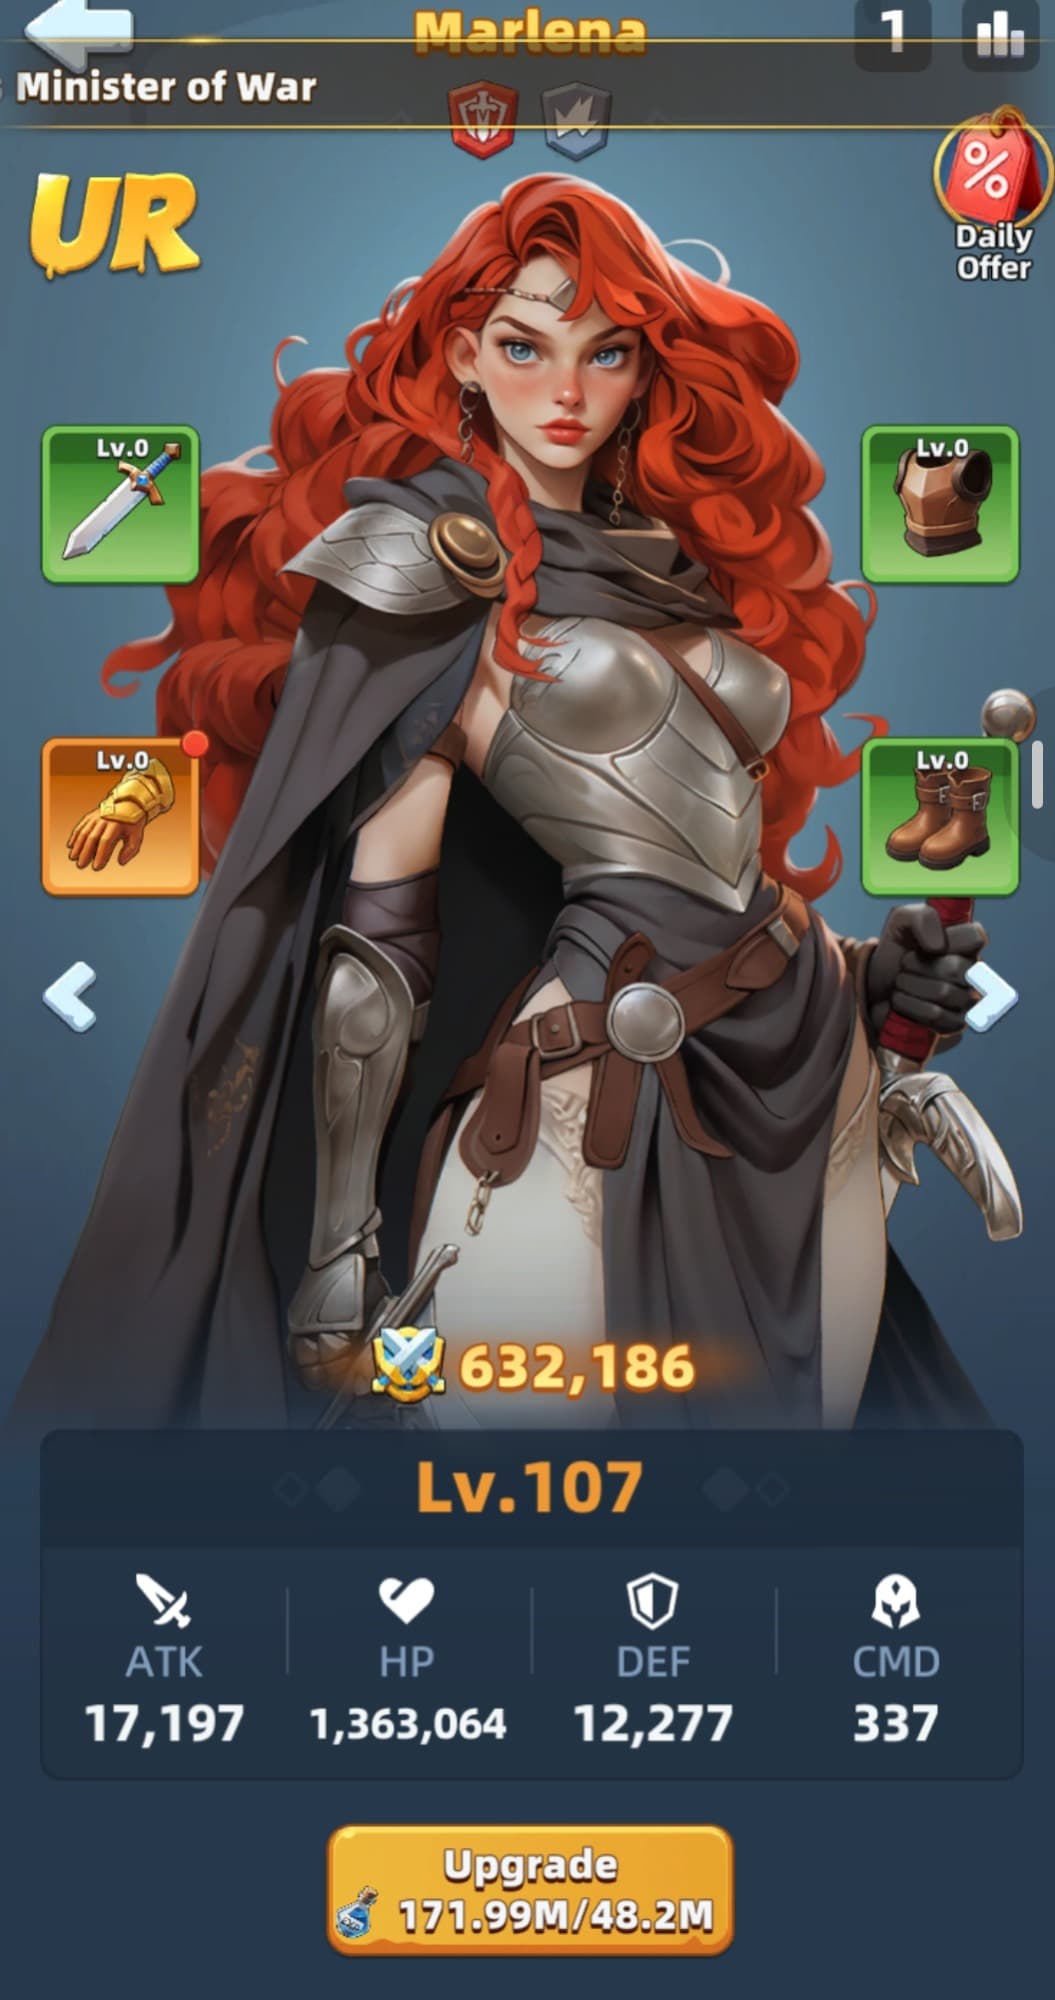 Last Asylum Marlena at Level 107 — level your main damage dealer ahead of the rest of the squad
Gear
Give the damage dealer sword and gloves first. Those slots raise attack and help the carry do what the role is for: delete the enemy team. Match gear to the hero’s role instead of filling every slot evenly out of habit.
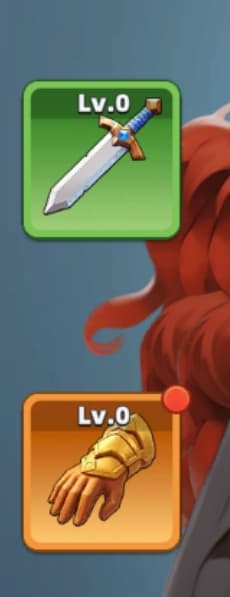 Last Asylum carry gear priority — sword and gloves slots on Marlena
Skills
Prioritize the skill that multiplies what the carry already does.
For Marlena, that means her passive (the middle-right skill) — the one that increases Energy damage dealt in combat. Early values sit around the high teens percent and climb as you level it. That passive raises her overall damage for the entire fight, which is the whole point of putting her in the squad.
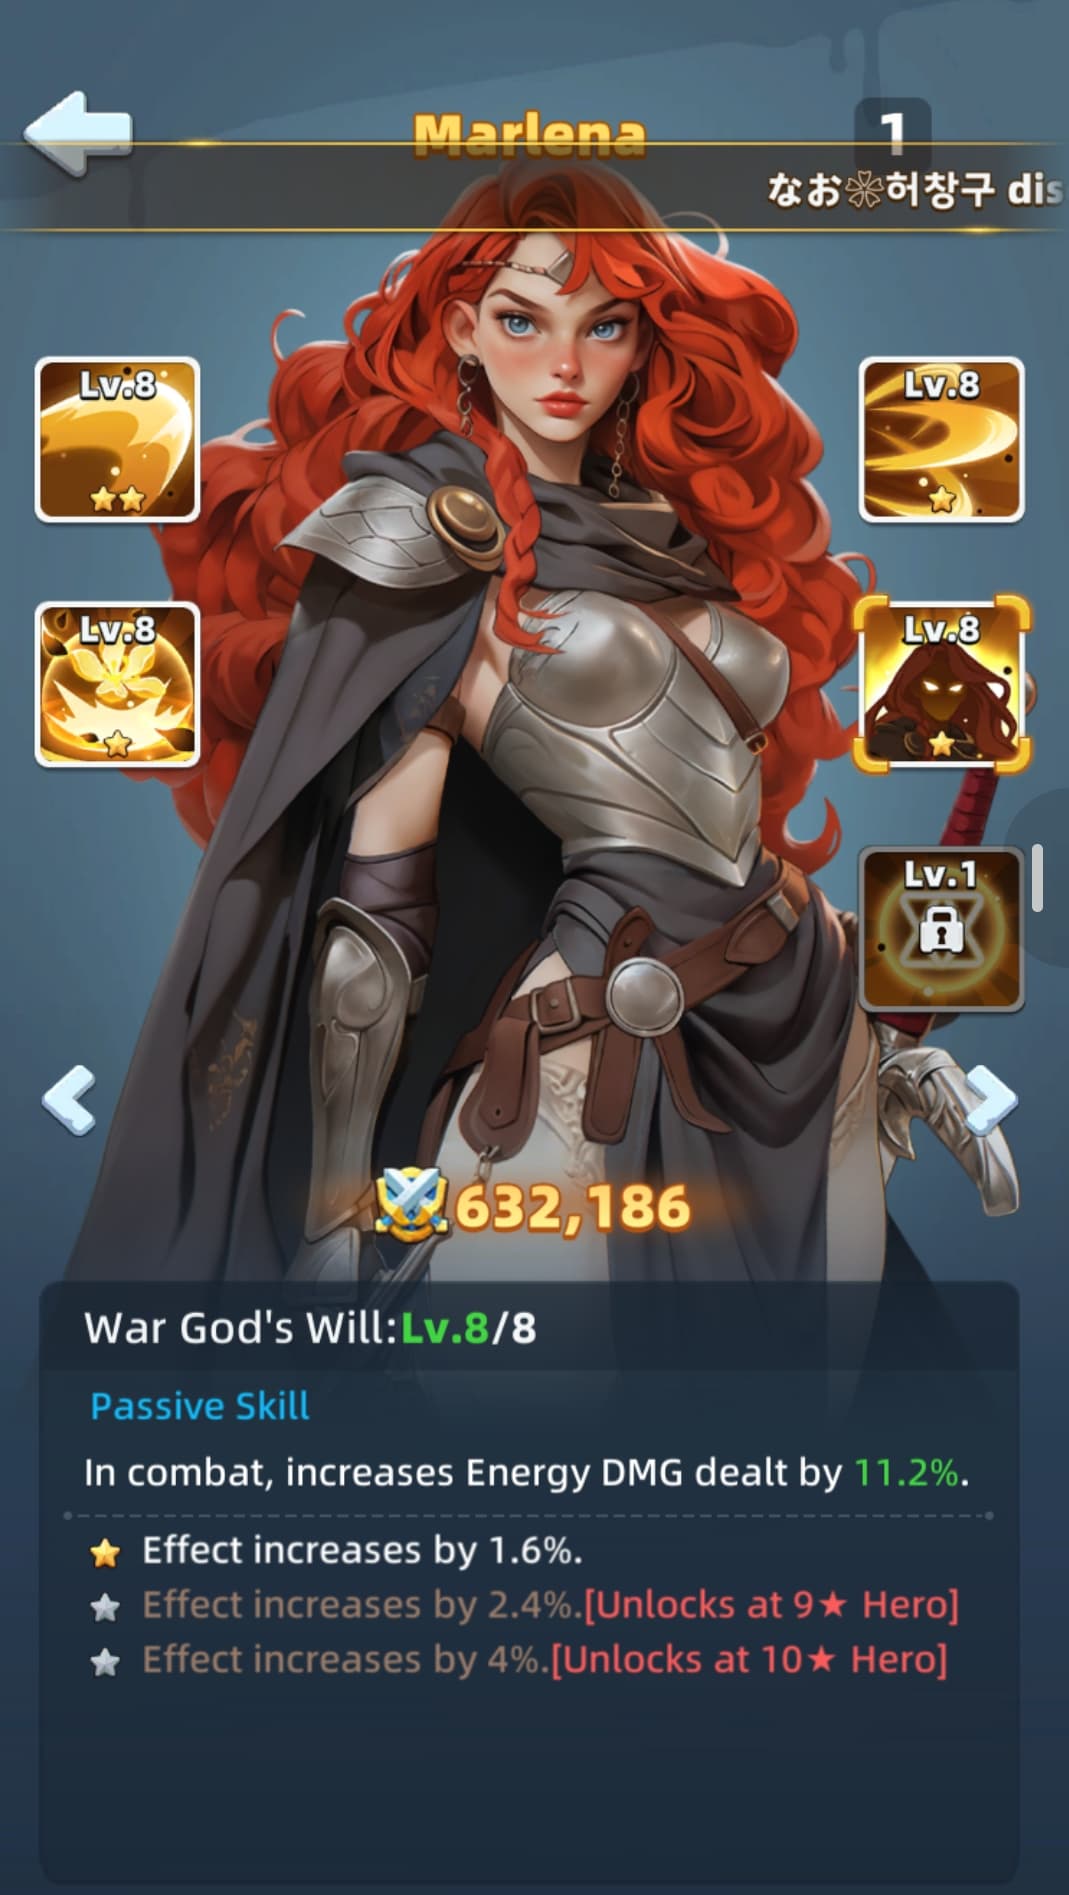 Last Asylum Marlena passive War God's Will — prioritize Energy DMG skill upgrades first
After that passive is moving, you can spread skill upgrades across her other abilities however you prefer. The passive is the non-negotiable first pick for a pure damage dealer.
Tanks — Second Priority, Not an Afterthought
Once the carry is ahead, invest in the tank. In the Warrior example, that is Arthur.
The tank is there to take the punches. Higher tank level means more time on the field for your damage dealers and support to do their jobs. You are not trying to make the tank win the fight alone — you are buying the carry a longer window.
Gear
Tanks want armor and boots first. Those pieces raise defense and help them stay upright under pressure.
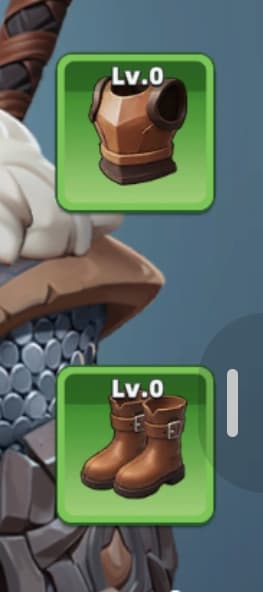 Last Asylum tank gear priority — armor and boots slots on Arthur
Skills
Tank skill priority is different from carry priority. For Arthur, start with the ultimate. His ultimate reduces physical damage taken by allies in range — so the upgrade protects the team, not only Arthur. That is a better early return than a selfish tank skill.
Next, level his passive, which further reduces damage received for the allied tank. Together, ultimate + passive stretch how long both tanks survive, which is exactly what a 2-tank formation needs.
Support — Third for a Reason
Support feels strong on paper, which is why a lot of players over-invest in it early. Resist that urge.
Early game: Celia
In the early Warrior setup, support is often Celia. She leans into resource / economy value more than raw team attack. That is useful for base growth, but it is not the same as finishing a combat stage. Leave her third while Marlena and Arthur eat the bulk of your XP and materials.
Later: Harper replaces Celia
When Harper shows up in the Tavern, he becomes the support upgrade path for a Warrior-focused team. His kit is built around raising allied attack:
- His passive (unlocked around level 20) increases attack for all allied Warrior heroes — early values sit around ~10%, and it scales as you invest
- His ultimate (War Flute) inspires allies and can push team attack into the mid-to-high 20% range for several seconds
That is excellent — after Marlena and Arthur are already leveled. Harper’s buffs multiply whatever your carries already have. Buffing an underleveled Marlena wastes the support investment. Level the carry first, then plug Harper in so the attack buffs land on a hero who can actually use them.
Once Harper is online, he replaces Celia in the combat squad and feeds attack into the whole Warrior lineup, not just the main carry.
How to Handle a Full Five-Hero Squad
A complete squad looks like this:
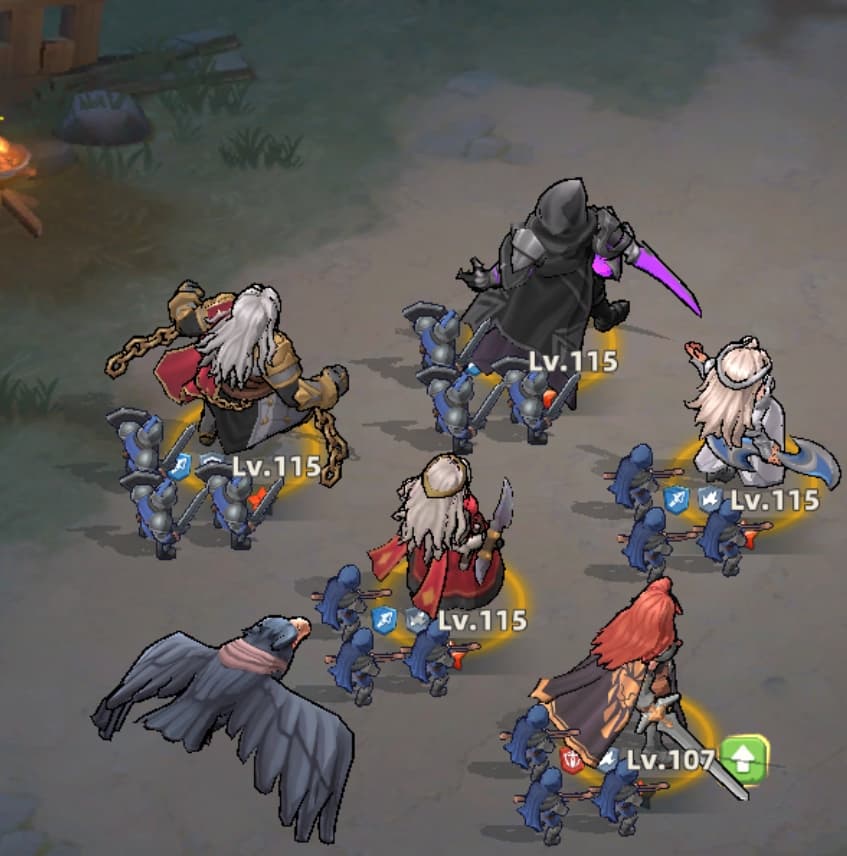 Last Asylum five-hero squad formation with role icons and level gaps on the main carry
| Slot | Role | Warrior example | Investment priority |
|---|---|---|---|
| 1–2 | Damage dealers | Marlena + second carry | Highest |
| 3–4 | Tanks | Arthur + second tank | Medium–high |
| 5 | Support | Celia early → Harper later | Lowest until core is set |
Practical rules:
- If the faction’s top row is damage dealers, you will usually run two carries — level both, but keep a clear #1 (Marlena for Warriors)
- After the primary carry, bring tanks up so the formation does not collapse
- Only then push support levels and skill badges hard
- Repeat the same role order for Ranger and Warlock squads — the heroes change, the priority does not
This is the same pattern that keeps early progression feeling smooth instead of “stuck on every other stage.”
Quick Priority Checklist
Use this when you log in and are not sure where to spend XP, gear, or skill materials:
- Identify roles — shield / fire / bottle icons
- Level damage dealers first (primary carry hardest)
- Gear carries with sword + gloves
- Upgrade the carry’s damage passive before random skill spam
- Level tanks second — armor + boots, then team-protect skills (Arthur ultimate → tank passive)
- Leave support third — Celia early for economy, Harper later for attack buffs
- Apply the same order to every faction squad
Final Take
Hero leveling in Last Asylum: Plague is not about fairness across the roster. It is about ending fights. Put XP and materials into the heroes who delete enemies, then into the tanks who keep those carries alive, then into the support who multiplies a squad that already works.
Start with Marlena → Arthur → Celia, swap Celia for Harper when he arrives, and keep that damage → tank → support ladder for every faction you build. Follow that order and early progression stops feeling like a wall.
Related Guides
- Top 5 Beginner Regrets — where early players waste honor coins, UR shards, gear stones, and skill badges
- Fastest Way to Increase Power — hero stars, skills, and gear in the full power stack
- Ultimate Research Roadmap — faction hero research trees that amplify your squad
- Marlena hero guide · Harper hero guide
- Gift Codes — free rewards, check after major updates
Watch the full walkthrough here if you want the on-screen squad example: https://youtu.be/C7wH29bw0ik